Showing posts with label Christmas. Show all posts

Monday, February 6, 2012

Ice Skate Winter Wreath

It's been a crazy few months for me, and I have been doing a little bit of crafting, but have not made time to add it to this new blog yet! I have been remembering to take some pictures though :) so I'll try and get some posts up this week.

This wreath here is inspired by Pinterest, it was one of the first crafts I had found there that I really wanted to try. The picture from pinterest ended up being a store bought wreath (you can click the picture to go to the website that sells it) but I though it looked do-able, so this is a little how-to for my version.


Pinterest Pic:
cutee

My completed version:

They ended up being very different. There are pros and cons to this.
Pro: My skate is newer, therefore is whiter.
Con: Because my skate is newer, it doesn't lace as nicely
Pro: Mine has a bird and berries wrapped around the sharp part
Con: My branches are not as long and straight
Pro: I made mine, the one above is store bough.

So, my skate for the win!!

This is how I made it, feel free to make changes to suit your skate wreath needs :)

First, get a skate, and clean it up real nice. I didn't have a figure skate, so I visited my local Salvation Army and bought a pair for $5.99 (and also found out they sell books there - amazing!!)

Then, lace your skate back up. I was very careful to choose the whitest side, and lace it up with no twists in it. If you are very particular, you could buy a new lace, but I am very frugal, and did not. It looked like this:
 Other materials you will need is some branchy things to stuff it with, and other festive decorations. A hot glue gun would probably help to. I had to use white glue.
Then I stuffed my skate with newspaper so it wouldn't be able to collapse in any places in the foot area as that would look pretty ugly after awhile.

 After that, I just stuffed my decorations into it, and glued a bird to the toe. Easy peasy.

 And this is the finished product from the back end, and again from the front. We hung it on the door to the porch instead of the front door so it didn't get weather damaged. I live in Canada after all :)
Hope you feel inspired :)

Wednesday, December 7, 2011

Christmas Paper Garland

Today in our office we made paper garland. I work for an environmental agency, so we used all recycled materials, and things we had around the house. The tutorial is pretty simple, and if you wanted you could probably up the sparkle of your garland by using some festive scrapbook papers, decorative ribbons, and a few embellishments to make your Christmas trees look fantastic!
The tutorial we used comes from this website: http://www.renewsing.com/2010/12/02/green-macgyver-christmas-paper-bauble-garland-%E2%80%93-an-eco-friendly-craft-for-kids/ but we decided to make our own, as we improvised some steps.

What you will need:
Scissors (or a circle punch), string (or ribbon, twine, etc.), glue, and the paper(s) of your choice!
Directions:


1) Trace and cut out circles. You will need 3-4 circles per bauble for them to be 3 dimensional. Most of us in the office chose to make 80 circles, for 20 baubles on our garland. You can make as little or as many as you like, depending on what you plan to use it for. Also, if you want to make fuller baubles, plan for more that 4 circles per bauble.

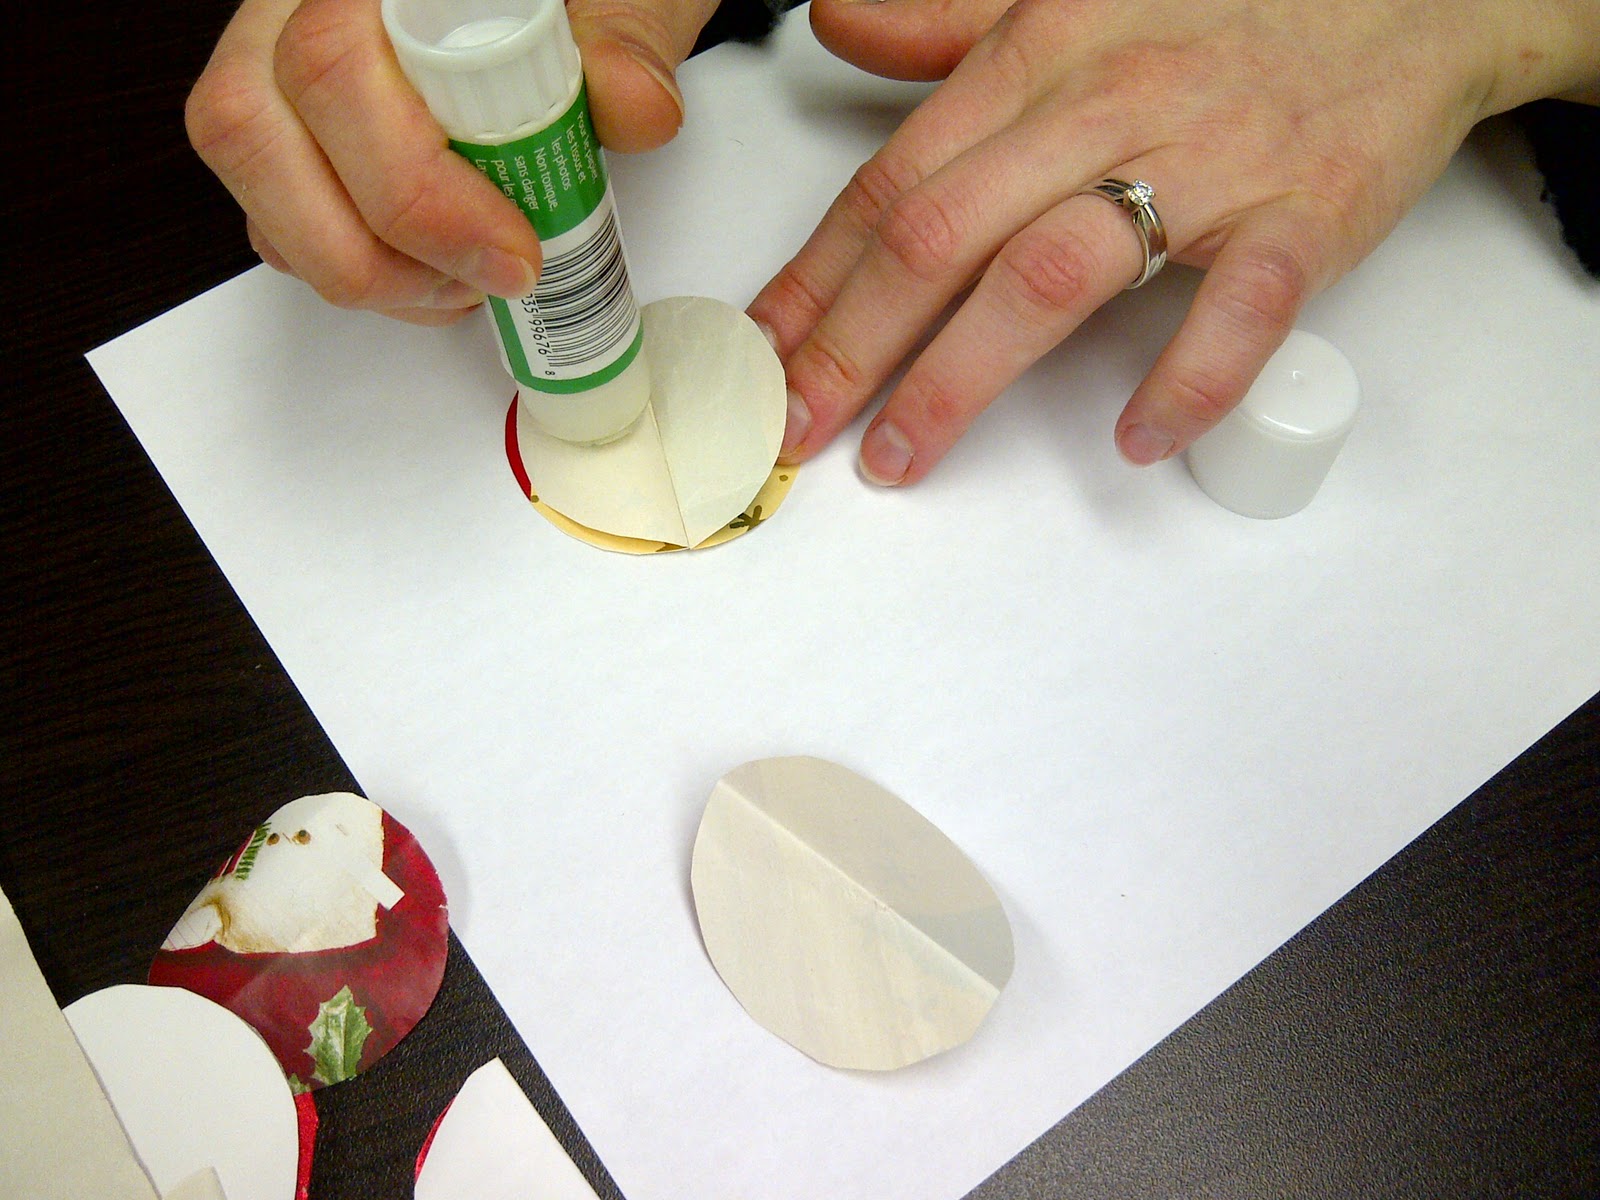
2) Once you have all of your circles cut out, fold them all in half.
You should now have several that look like this.
3) Begin gluing the folded circles together. I glued all of mine into pairs to start. Don't glue all four sides together yet.


*now you have a choice to make* in the link provided it shows that you do glue all four sides together, and then thread your string through the middle to put all the baubles together. We found that this would work if a) you are using yarn or something similar; and b) your needle is longer that your circles. We didn't do this, but if you want to, you can :)

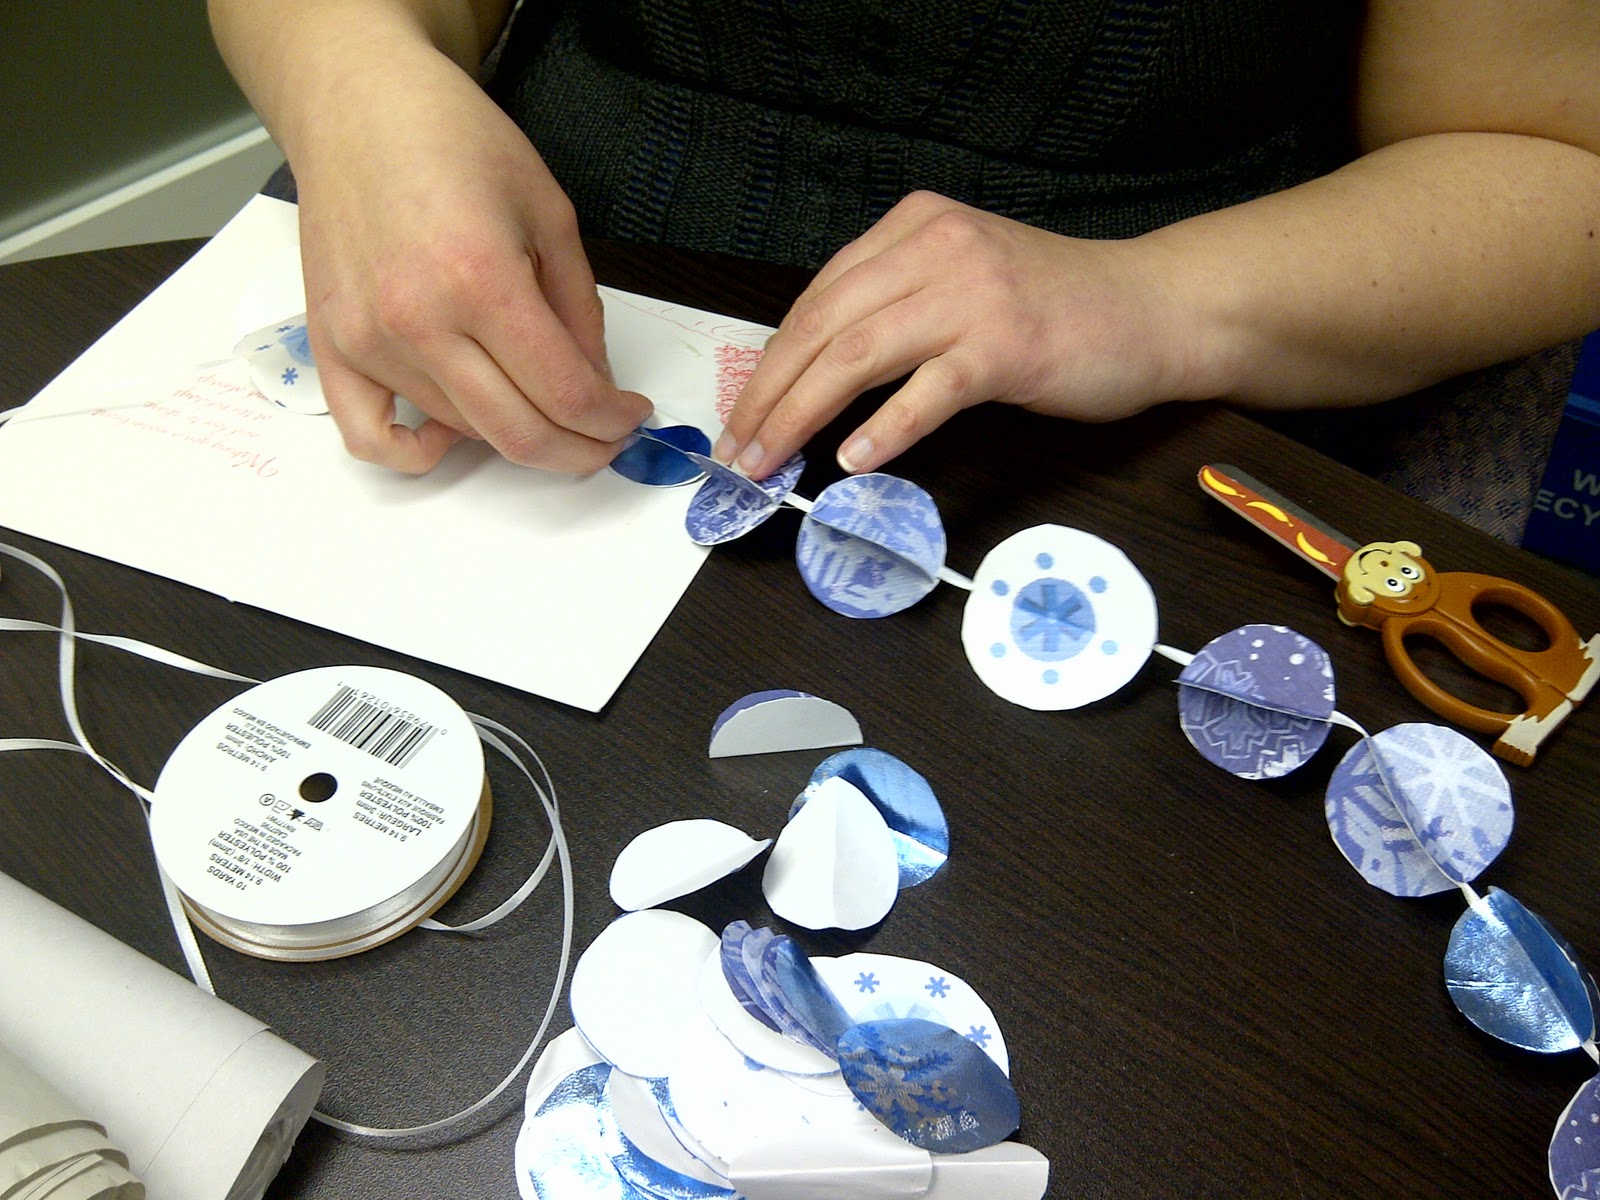
4) Once you have all of your baubles, with one side open, lay your ribbon in, and glue the final side together. It should begin to look like this:
For this one, no space was left between the baubles

For this one, small spaces were left. If you are using decorative ribbon, this may be a  better option for you.
Of course, the spacing is your choice!

Eventually your garland will start to take shape!

I kept a loop at the top of mine to tie them together!
Some variations of this craft would be to make it from fabric if you like to sew, or you could make these into ornaments but making a larger loop than what I did above and making fuller baubles. One girl in our office even used squares instead of circles, and her's looks great to!
This is a very versatile craft, which can be as big or small, and as fancy or as eco-friendly as you want it to be! Also, its a VERY easy craft to do with children!

Enjoy your crafting!